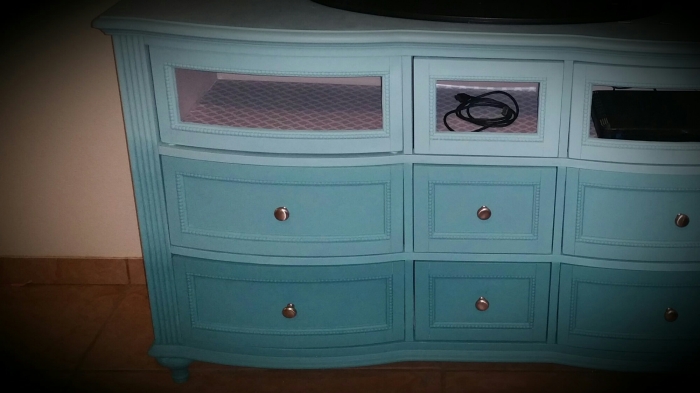
Check out this beautiful piece of magic.
This project is the true epotime of what it says on my business cards, transforming the trashy into the classy.
This is what the piece looked like when I picked it up for free from someone who was just going to throw it away. One person’s trash is another’s treasure! There was virtually nothing wrong with this dresser with the exception of a few missing drawer rails and a ton of gunk all over.
Our first and probably the most time consuming step was to clean the entire dresser. It was filthy, strange stains, weird smells, gunky grossness we had it all with this one.
You’ll notice my obsession with ombre again with this piece, so I needed to mix paint. I mixed every single shade of blue and green paint I had in my arsenal and finally got a color I could live with. I actually wasn’t 100% happy with the color we ended up with at first but it really grew on me.
I mixed 3 different shades for this project, the first was just the straight blue green color, the second shade was 2 parts BG to one part white, and the last shade was 1 part BG to 2 parts white. Once that was all taken care of I just started painting away.
This was after 1 coat of paint. To divy up the colors I just used the drawer breaks, made things so much easier.
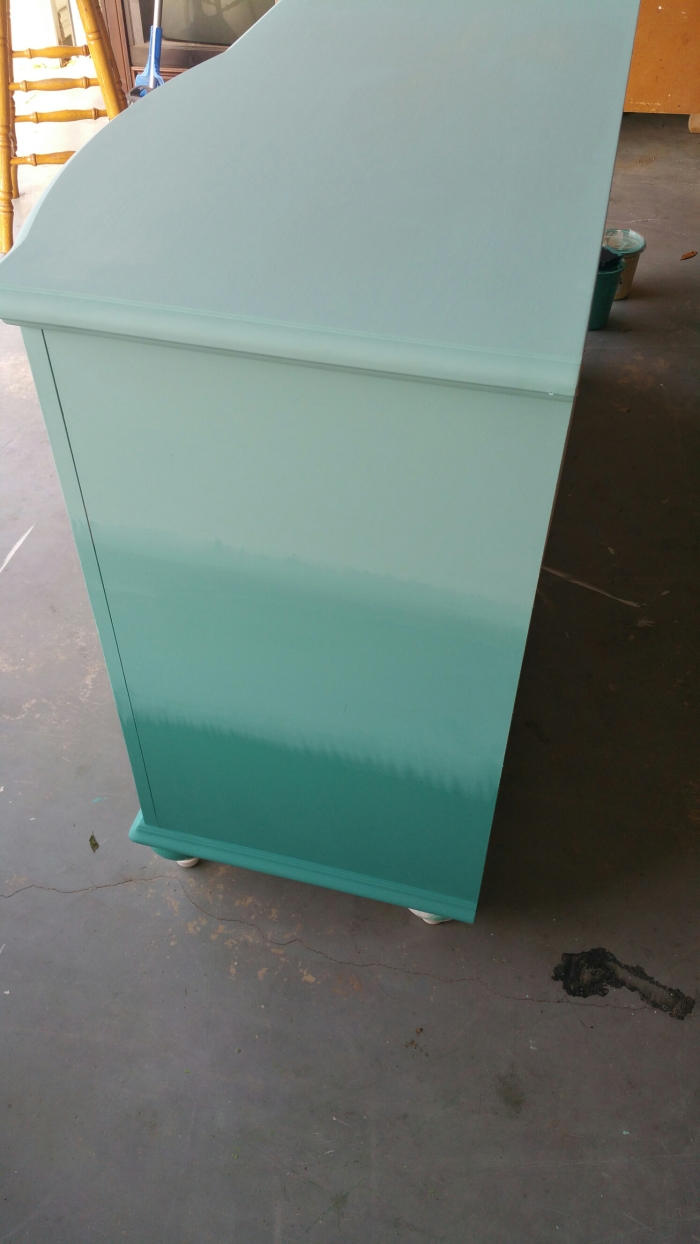
Coat #2, you’ll notice on the side view there’s very little gradation at this point, well that’s because I was still trying to think of the best way to achieve the look I wanted.
This is the method I got the best results from. I laid down fresh paint in both shades and then just drug the brush up and down through both shades.
This was the effect created by that method. I really love the bleeding effect this created.
Third and final coat of paint, there were a few spots that needed to be touched up later, but 3 coats got me the coverage I was after.
We had a slight dilemma about how to do the top level of drawers. Originally I had planned to leave all the top drawers out and put in boxes to hold our direct TV box and the XBox and any other things we may need to connect to the TV in the future. I brought my brother in law in on this project because I’m not the most comfortable using the power tools and he’s good with that kind of thing.
He sat on my garage floor in front of the dresser for a few moments while we discussed how we should go about dealing with the top level. What we finally came up with was kind of genius, instead of trying to build individual boxes for each opening or just one long shelf this is what we did.
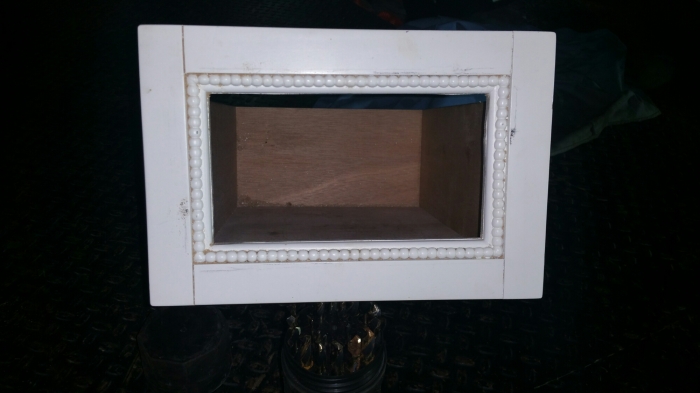
We cut the face out of the 3 top drawers! To do that we drilled 2 holes on opposite corners of each drawer face and then used the jigsaw to cut out each piece. Bam! I seriously love this!
Each drawer got 3 coats of cooresponding paint and then their insides got a couple of coats of mineral. I also lined the drawers with contact paper because a few of them had this gross velvety red stuff in the bottom.
The top outside drawers had holes cut in the back for cords as well as the middle bottom.
This was a total upgrade from the bright green and black monstrosity I had before.
I don’t know what I was thinking…
I added hardware from our local hardware store, actually I got mine from my sisters craft supply. We had to cut the screws because the face of my drawers was soooooo skinny.
I really think it came out great.
If you have any questions or comments please feel free to drop them below. 🙂
As always thank you for reading!
Caloric intake: 1,559
Calories burned: zero
Until tomorrow, stay wonderfully wild!
Chels


Turned out great! I do agree it looked kinda awful!
LikeLike
Thank you! It was worse than it looked I promise.
LikeLiked by 1 person